Things You Should Put in a Home First Aid Kit

Being ready for emergencies is crucial for the safety and well-being of you and your family. One simple but vital part of this preparation is having a well-stocked first aid kit at home. While you can easily buy pre-made first aid kits from stores, making your own allows you to customize it to better fit your family's specific needs.
Choosing, Locating, and Maintaining Your Kit
Step 1: Pick a Suitable Container
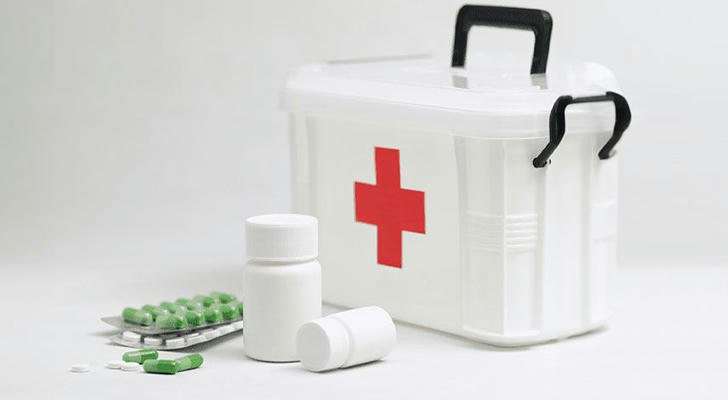
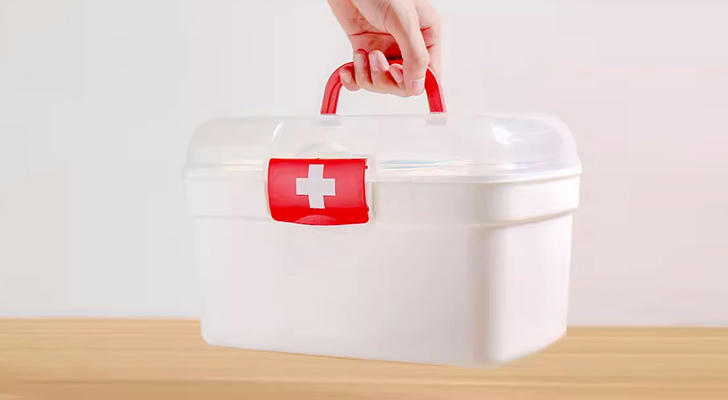
While purchasing a pre-filled first aid kit is convenient, you likely already have a suitable container at home. A large, translucent, water-resistant plastic container, whether rigid or flexible, with a zipper closure or a latch-top lid, is a great option because it keeps the contents visible and protected. For more extensive kits, a backpack or small duffel bag can work well. Lunchboxes can also be a handy choice. The key is that the container should be spacious, portable, and somewhat water-resistant. A handle is beneficial for easy transport during an emergency.
To keep things organized, consider separating items by type within the container. Use labeled zip-close bags for flexible containers or clear plastic boxes for rigid containers. Clearly label the container, perhaps by writing “FIRST AID" on it in several places with a permanent marker.
Step 2: Make Your Kit Accessible

It's important to keep your first aid kit in an easily accessible location. When someone is hurt, you don't want to waste time searching for it. Choose a spot that everyone in the household knows about, such as a visible shelf in a linen closet. Ensure that small children know where the kit is kept but place it out of their reach.
Step 3: Educate Your Family
Everyone in your household who is old enough should know the kit's location and how to use its contents. For younger children, simply knowing where the kit is can be helpful in guiding others to it. For older children and adults, provide instruction on when and how to use the various items. Including a first aid instruction booklet, such as those from the American Red Cross, can be helpful. Keep this booklet in the kit for easy reference.
Step 4: Keep Your Kit Updated
Regularly check the contents of your first aid kit to ensure nothing is missing or expired. A good routine is to check the kit every six months, perhaps when you change your smoke detector batteries in the spring and fall. Replace any used or expired items promptly.
Step 5: Create a Checklist
Maintain a checklist of all the items in your first aid kit, noting the quantities and expiration dates. Keep this list in the kit so that anyone using it can quickly see what's available and what might need to be replenished.
Stocking Your Kit

Step 1: Include a Variety of Bandages
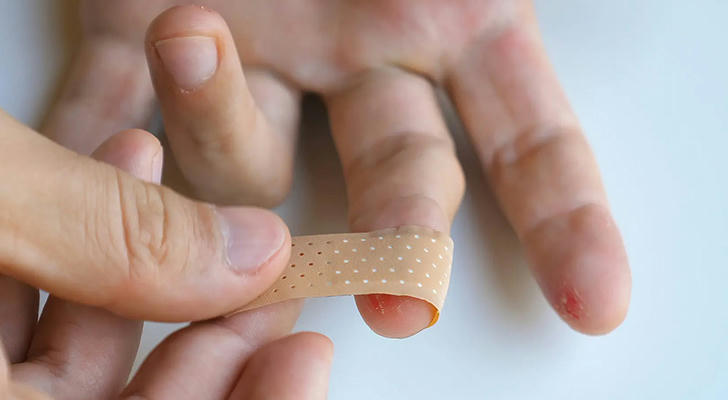
Bandages are essential for treating minor cuts and scrapes. Stock a range of sizes and types to be prepared for different injuries. Store them in a clear, labeled zip-close bag. Include:
• 25 adhesive bandages in various sizes
• Five 3" x 3" and five 4" x 4" gauze pads
• Two 5" x 9" sterile dressings
• A roll of cloth adhesive tape
• One 3" wide and one 4" wide roller bandage (ace bandage)
• Two triangular bandages
Step 2: Add Basic Medical Tools
You'll need tools for tasks like removing splinters and cutting bandages. Keep these in a marked zip-close bag as well. Essential items include:
• Small, sharp scissors
• Tweezers
• Cotton balls and swabs
• CPR breathing barrier mask
• Two pairs of non-latex gloves
• Hand sanitizer
• Non-mercury oral thermometer
• Instant cold compress
• First aid instruction booklet
• Cleansing wipes (for external use only)
• Zip-close plastic bags (for medical waste disposal)
Step 3: Consider Additional Tools
If you have a larger kit, you might include extra items that, while not essential, can be very useful. Store these in a separate, marked bag. Consider including:
• Eye protection
• Aluminum finger splint
• Prepackaged space (warming)
• Duct tape
• Safety pins
• Petroleum jelly
• Sewing needle
• Turkey baster (for wound irrigation)
Step 4: Organize Medications Separately
Keep medications separate from other supplies and check their expiration dates regularly. You can find travel-sized packs of many items suitable for a first aid kit, such as:
• Cough and cold medicine
• Aloe vera gel
• Calamine lotion
• Anti-diarrheal medication
• Antacids
• Laxatives
• Antihistamines
· Pain relievers (aspirin, ibuprofen, acetaminophen)
· Hydrocortisone cream
Step 5: Personalize with Family Medications
Include small doses of prescription medications needed by family members, especially in kits kept in cars or for travel. Use clearly marked containers and keep track of expiration dates. If anyone has severe allergies, an epi-pen with instructions should be included in the home kit. Having a small stock of personalized medical supplies can be very handy if your regular medicine cabinet supply is depleted.
Making Mobile Kits
Step 1: Always Have a Car/Travel Kit
A first aid kit in each car is essential. Some cars come with a basic kit, but it should be supplemented to ensure it's complete. A travel kit should include items similar to those in your home kit but add road-ready items like a flashlight with batteries, waterproof matches, a solar/crank phone charger, sunscreen, insect repellent, a whistle, emergency contact numbers, and medical consent and history forms for each family member. Make sure the kit is easily accessible.
Step 2: Create a Camping Kit
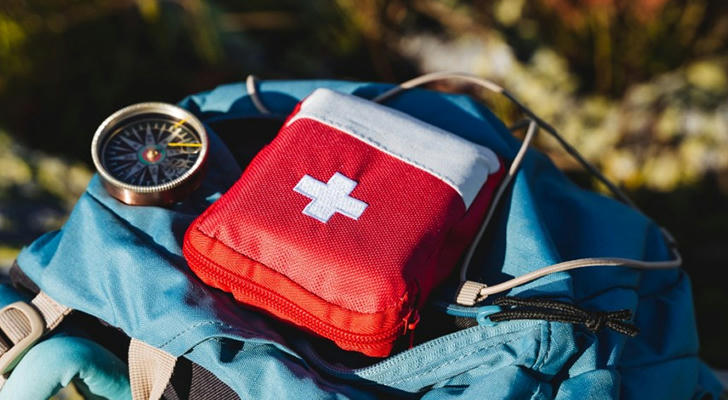
For outdoor adventures, a camping-specific first aid kit is useful. Ensure it includes good scissors, waterproof matches, a space blanket, duct tape, a solar/crank phone charger, a whistle, and water purification tablets. These items help address unique outdoor needs.
Step 3: Pack a Purse/Compact Kit

A small, portable first aid kit can be very handy. A basic purse kit might include ointment, cleansing wipes, gauze pads, and bandages. Adding a small amount of your most commonly used medications in a zip-close bag can create a compact yet effective kit for a purse, diaper bag, or backpack.
Step 4: Set Up Special Kits as Needed
For family members with specific medical needs, prepare specialized travel kits. An allergy emergency kit, for example, should be clearly marked and tailored to the individual's requirements. Consult with a doctor to determine the necessary contents and include multiple doses of medications, along with clear instructions and the physician's contact information.
Tips
Check your first aid kit's contents and expiration dates semi-annually and replace items as needed.
If someone in your family is pregnant, include any vitamins or supplements they might be taking.
Consider taking CPR and basic first aid training from your local Red Cross or other organizations. Knowing how to use the supplies in your kit can be life-saving.
By following these steps, you can create a comprehensive, personalized first aid kit that ensures you're prepared for a variety of emergencies, providing peace of mind and safety for you and your loved ones.
