Expert Tips for Road Rash Care and Prevention

If you've taken a tumble while riding a motorcycle, bicycle, skateboard, or skates and scraped your skin, you're likely dealing with road rash. This type of friction burn can be quite painful, but with the right care, you can ensure a smooth healing process and avoid complications. Here's a comprehensive guide to help you manage road rash effectively.
Assessing the Damage
Step 1: Move to a Safe Area
If your accident occurs in a potentially hazardous location, such as the middle of the road, the first thing you should do is move to a safer spot if you can. This reduces the risk of further injury.
Step 2: Check for Life-Threatening Injuries
Make sure there are no immediate threats to your safety. Ensure that you or the injured person can move without difficulty and that there are no broken bones. If there are signs of severe injury, stop and call emergency services right away. Head injuries should be taken very seriously, so seek medical attention immediately if a concussion is suspected.
Step 3: Examine the Wound
Look closely at the wound to determine its severity. If it's difficult to see, ask someone for help. You should call for emergency assistance if the wound:
• Exposes fat, muscle, or bone.
• Is bleeding profusely. Apply pressure to the wound with a clean cloth or piece of clothing while waiting for help to slow the bleeding.
• Has jagged edges that are far apart.
Step 4: Check for Additional Injuries
Some injuries may not be visible right away. If you lost consciousness, feel disoriented, have a limited range of motion, or experience severe pain, it's crucial to seek medical attention as soon as possible.
Treating the Wound

Step 1: Clean Your Hands
Before you start treating the wound, wash your hands thoroughly with soap and warm water to prevent infection. If available, wear disposable gloves for extra protection.
Step 2: Stop the Bleeding
If the wound is bleeding, apply pressure using a clean cloth or gauze. Hold it in place for several minutes. If the cloth becomes soaked with blood, replace it with a fresh one. If the bleeding doesn't stop after ten minutes, seek medical help as stitches or other treatments might be necessary.
Step 3: Rinse the Wound
Rinse the wound under cool running water or pour cool water over it. If you can't reach the wound yourself, ask someone to help. Make sure the water washes away any loose dirt or debris.
Step 4: Clean the Wound
Use antibacterial soap and water to clean around the wound, but avoid getting soap directly into the wound as it can cause irritation. This step helps to remove dirt and bacteria, reducing the risk of infection. Avoid using hydrogen peroxide or iodine, as these can harm living cells and delay healing.
Step 5: Remove Debris
If there are any foreign materials like dirt, sand, or splinters in the wound, use sterilized tweezers to carefully remove them. Clean the tweezers with isopropyl alcohol before use. If you can't remove the debris, seek medical assistance.
Step 6: Dry the Wound Gently
After rinsing and cleaning, pat the wound dry with a clean cloth or towel. Avoid rubbing to minimize pain and irritation.
Step 7: Apply Antibiotic Cream
Applying an antibiotic cream can help prevent infection, especially if the wound is dirty. Follow the instructions on the cream for proper application. If you experience any allergic reaction like redness, itching, or swelling, switch to a different antibiotic cream. If you can't use antibiotic creams, use petroleum jelly or Aquaphor to keep the wound moist.
Step 8: Cover the Wound
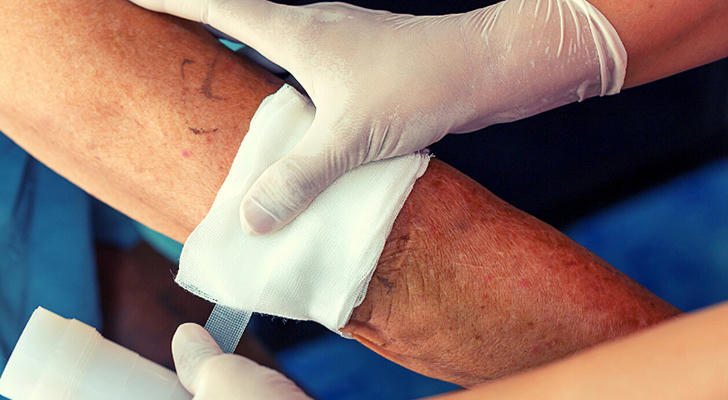
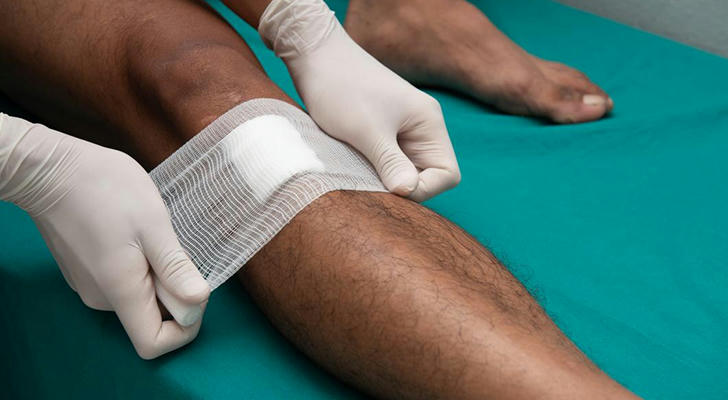
Protect the wound with a bandage to keep out dirt and prevent irritation from clothing. Use a non-stick bandage or sterile gauze held in place with tape or an elastic band.
Step 9: Elevate the Wound
Keep the injured area elevated at or above heart level to reduce swelling and pain. This is especially important during the first 24 to 48 hours after the injury.
Caring for the Wound as it Heals
Step 1: Change Bandages Regularly
Replace the bandage daily or whenever it becomes wet or dirty. Clean the area with water and antibacterial soap each time you change the bandage.
Step 2: Reapply Antibiotic Cream Daily
When you change the bandage, reapply the antibiotic cream. This helps to minimize the risk of infection and keeps the wound moist, which can prevent scabbing and reduce the chance of scarring.
Step 3: Keep the Wound Elevated
Continue to elevate the wound to reduce swelling and pain, particularly if the wound is severe or infected.
Step 4: Manage Pain
Take over-the-counter pain relievers like ibuprofen or acetaminophen as needed, unless advised otherwise by your doctor. Ibuprofen can also help reduce inflammation. If the wound is dry or itchy, use a moisturizing lotion. Wear loose clothing that won't rub against the wound to avoid irritation.

Step 5: Stay Hydrated and Nourished
Drink plenty of fluids and eat nutritious foods to support your body's healing process. Aim for at least six to eight eight-ounce glasses of water per day.
Step 6: Rest and Avoid Overexertion
Give the injured area time to heal by avoiding strenuous activities. For example, if the wound is on your leg, avoid running or climbing.
Step 7: Monitor Healing Progress
Road rash typically heals within two weeks if properly cared for. However, factors like age, nutrition, smoking, stress levels, and overall health can affect healing time. If the wound seems to be healing slowly or shows signs of infection, consult a medical professional.
Step 8: Seek Medical Attention if Necessary
Contact a doctor if the wound worsens or shows signs of infection, such as increased redness, swelling, warmth, pain, red streaks, pus drainage, or flu-like symptoms.
Preventing Road Rash

Step 1: Wear Protective Gear
Always wear appropriate protective clothing and gear to shield your skin from road rash. Long sleeves, pants, and protective pads for elbows, wrists, and knees are advisable for activities like skateboarding and skating. A helmet is essential for protecting your head during these and other activities like biking and motorcycling.
Step 2: Practice Safety
Ensure you know how to use your equipment properly and avoid attempting dangerous stunts. Being cautious can significantly reduce the risk of road rash.
Step 3: Keep Tetanus Immunizations Current
Since road rash wounds often come into contact with dirt and debris, there's a risk of tetanus infection. Make sure your tetanus shots are up-to-date. Adults should get a tetanus booster shot every ten years, or sooner if they sustain a dirty wound.
By following these steps, you can effectively treat road rash and help prevent complications, ensuring a smoother and quicker recovery. Always prioritize safety and seek medical advice when needed to keep yourself protected and healthy.
